
Authorize.Net Payment Gateway for Magento 2 User Guide
Authorize.Net Payment Gateway for Magento 2 User Guide
Authorize.Net remains a workhorse for US Magento stores—especially with React Checkout Pro. This guide covers the Towering Media Authorize.Net Payment Gateway ($99): Accept.js / Accept Hosted, RCP endpoints, install overview, testing, and FAQ.
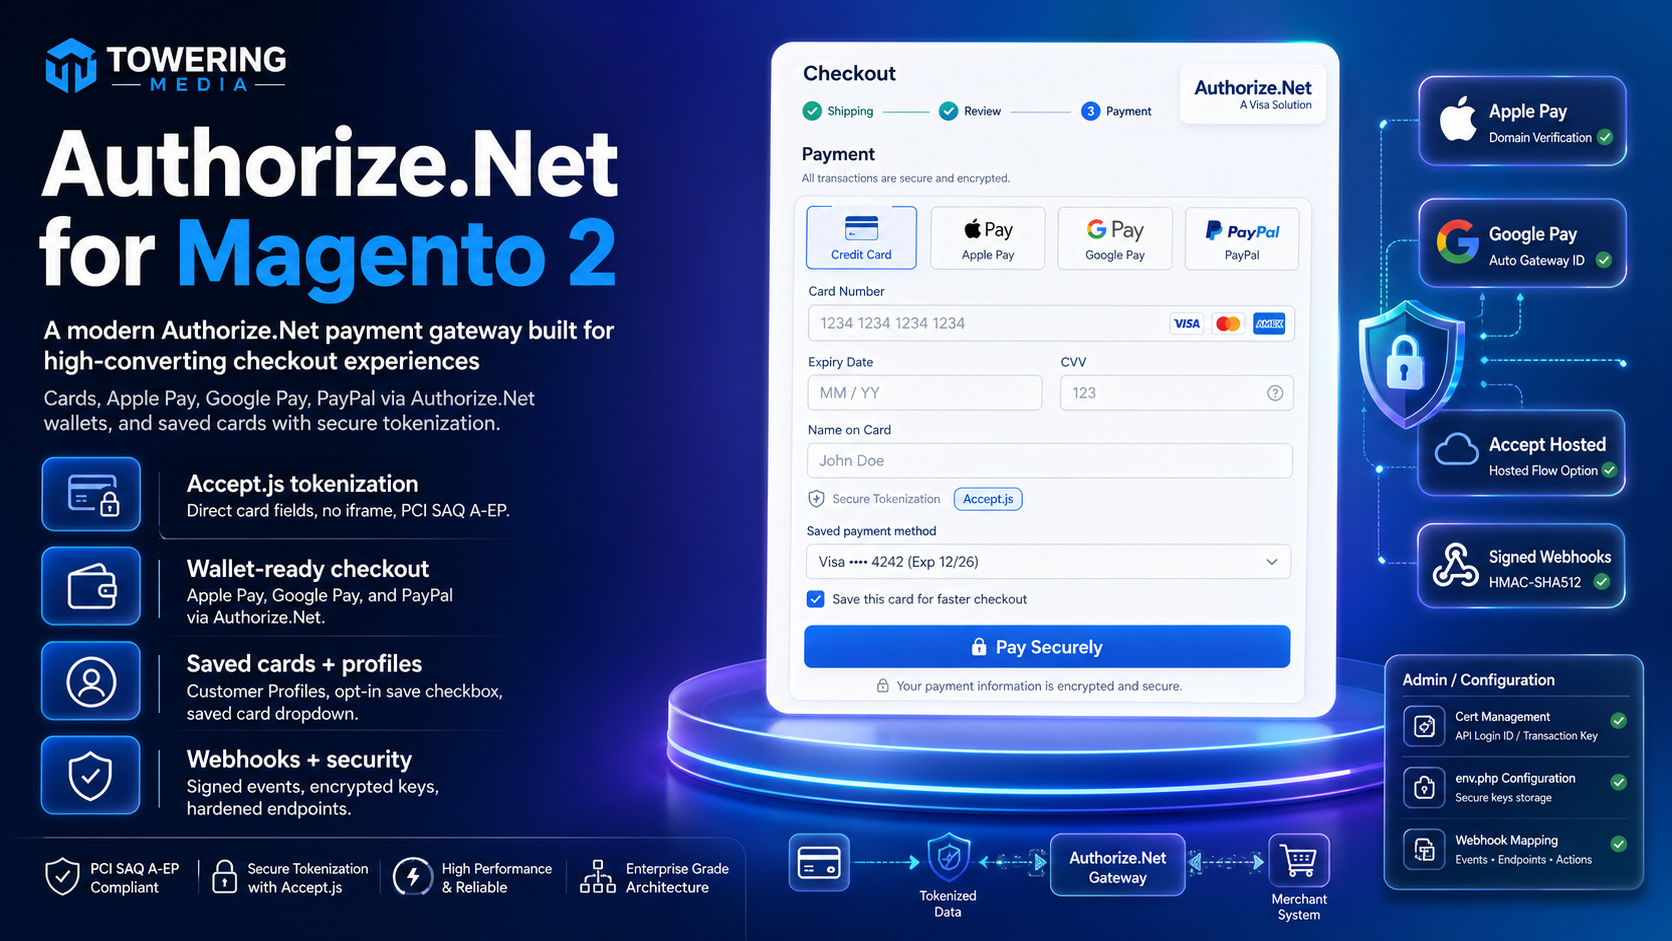
For deep configuration screenshots and edge cases, see the detailed wiki documentation. Product details and add-to-cart live on the Authorize.Net Payment Gateway for Magento 2 page.
Table of Contents
Why Default Card Flows Struggle
Generic Magento payment stubs and outdated Authorize.Net modules often miss modern Accept.js / Hosted patterns:
- PCI exposure — collecting raw card data in Magento
- Checkout mismatch — works on Luma but not RCP
- Sandbox confusion — wrong API Login / Transaction Key environments
- Opaque declines — little guidance when Accept.js fails to tokenize
What This Extension Solves
The Towering Media Authorize.Net module adds Accept.js / Accept Hosted style flows and RCP integration endpoints.
- Accept.js and Accept Hosted oriented card collection
- React Checkout Pro integration endpoints
- Basic Magento checkout renderer for classic themes
- Admin payment operations aligned with Magento sales flow
Key Features
- Magento 2.4 / PHP 8.1–8.4 ready (see package constraints)
- Works with React Checkout Pro Express add-on for wallets
- Depends on toweringmedia/module-base
System Requirements
- Magento 2.4.x
- Authorize.Net merchant account + API credentials
- Towering Media Composer credentials
General Composer install steps for Towering Media modules: Installation guide.
Installation Overview
Step 1: Authenticate Composer
Add your Towering Media credentials to auth.json in the Magento root (same pattern as other Towering Media extensions).
Step 2: Require the package
composer require toweringmedia/module-authorizenetStep 3: Enable and upgrade
php bin/magento module:enable Toweringmedia_AuthorizeNet
php bin/magento setup:upgrade
php bin/magento setup:di:compile
php bin/magento setup:static-content:deploy -f
php bin/magento cache:flush
Exact module enable name may match your package’s registration.php / module.xml—confirm in the package after install. Production stores should follow your normal deploy process.
Need help installing? Contact Towering Media or browse more modules in Magento 2 Extensions.
Configure Authorize.Net
- Payment Methods → Towering Media Authorize.Net.
- Enable; select sandbox or live.
- Enter API Login ID, Transaction Key, and Accept.js client key.
- Choose Accept.js vs Hosted mode as documented on the wiki.
- Save Config; flush cache.
Sandbox Test Checklist
Prove tokenization before production:
- Sandbox authorization with an Authorize.Net test card
- Order visible in Magento with correct auth amounts
- RCP path (if used) completes without JS errors
- Refund/void path verified in staging
Troubleshooting
Invalid authentication values
- Confirm sandbox vs live keys match the selected environment
- Regenerate Transaction Key in Authorize.Net merchant interface
Tokenization never completes
- Browser console for Accept.js errors
- Ensure checkout HTTPS is valid
- See wiki for RCP adapter notes
Frequently Asked Questions
Is this the Magento core Authorize.net module?
No—this is Towering Media’s gateway package with RCP-oriented integration.
Wallets / Apple Pay?
Pair with React Checkout Pro Express for wallet buttons atop RCP.
Deep docs location?
Wiki remains primary for PDP User Guide: Authorize.Net wiki.
Price?
$99 on the product page.
Related Extensions & Resources
Want our Magento team to handle it?
Towering Media installs, configures, and customizes Authorize.Net Payment Gateway for Magento 2 stores — along with payment gateway setup, checkout customization, and React or one-page checkout builds.
Get the Extension
Take Authorize.Net payments on Magento 2 with Accept.js/Hosted patterns and React Checkout Pro support.
Prefer screenshots and deep steps? Open the full wiki guide.