
Magento 2 SMTP Extension User Guide
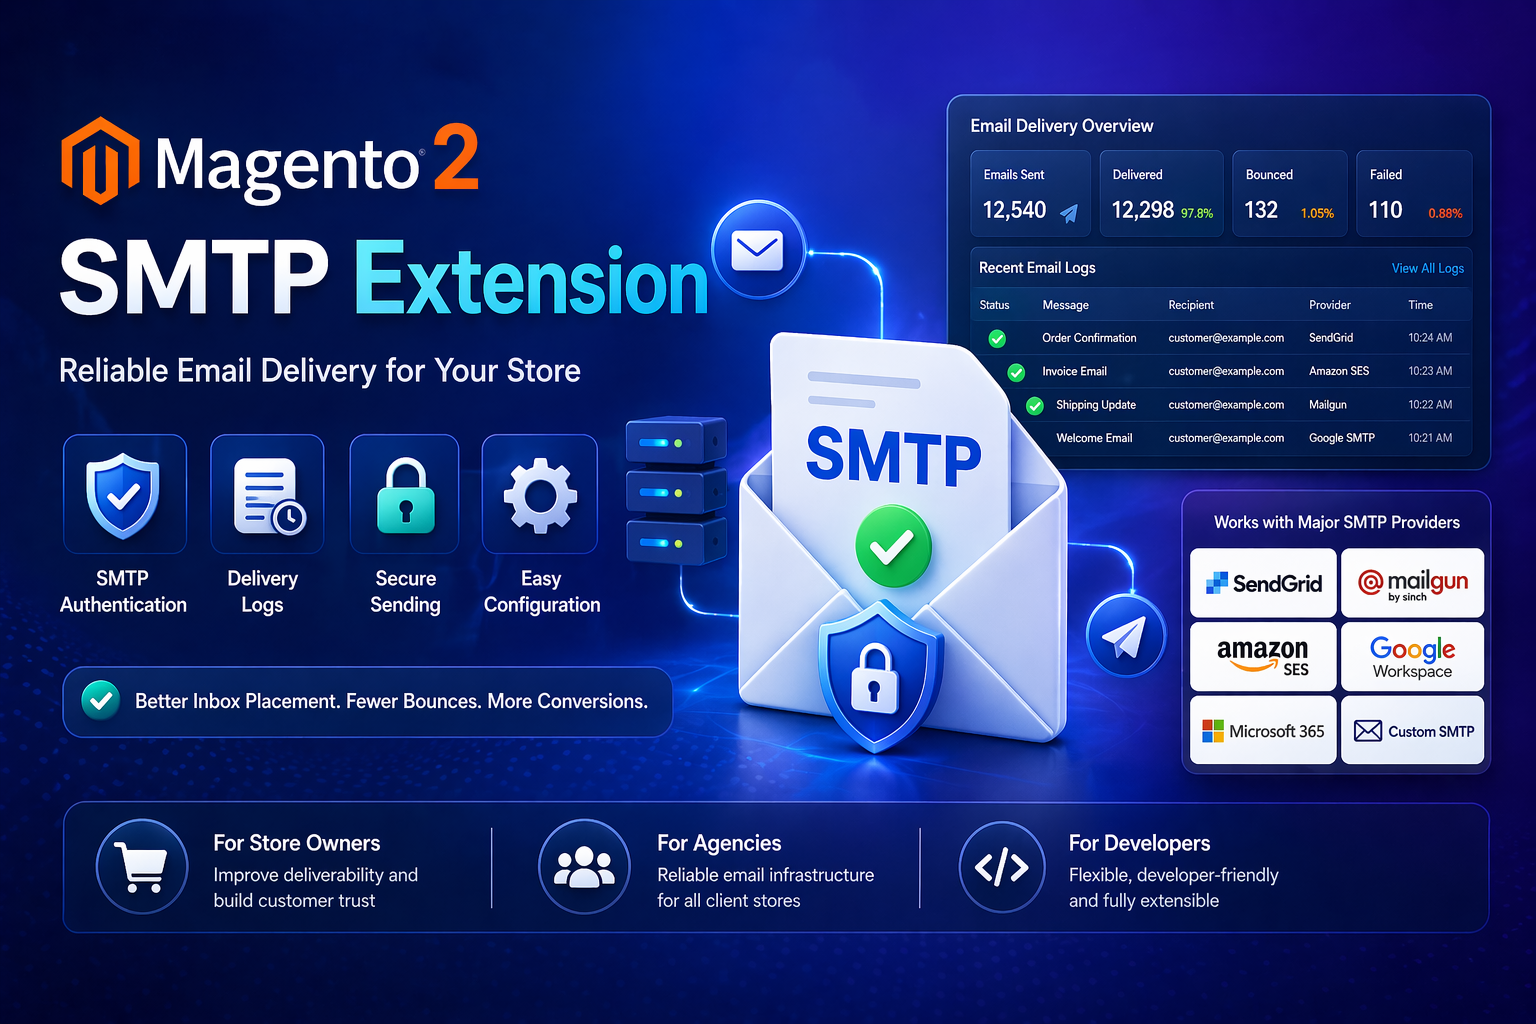
Order confirmations, password resets, and shipping emails only help when they actually arrive. This guide shows how the Towering Media Magento 2 SMTP Extension ($129) replaces Magento’s fragile default mail transport with authenticated SMTP—plus install overview, provider setup, test send, logging, troubleshooting, and FAQ.
For the step-by-step Gmail API / OAuth walkthrough with every Cloud Console screen, see the detailed wiki documentation. Product details and add-to-cart live on the Magento 2 SMTP Extension page. The same extension is also on Adobe Commerce Marketplace.
Table of Contents
Why Magento Email Fails
Out of the box, Magento often relies on PHP mail() or the host’s local MTA. That approach is fragile on shared and cloud hosting:
- Low sender reputation — messages leave from the server IP, not a trusted mail provider
- Spam folders — weak or missing SPF/DKIM/DMARC alignment for transactional mail
- No visibility — when an order email fails, Magento gives little actionable detail
- Modern auth gaps — Gmail, Microsoft 365, and others expect App Passwords or OAuth2, not plain account passwords
What This Extension Solves
The Magento 2 SMTP Extension replaces the unreliable default transport with an authenticated SMTP connection. You connect Gmail, Google Workspace, Outlook 365, SendGrid, Mailgun, Amazon SES, Zoho, or any custom SMTP server from one admin panel.
- Reliable delivery for order, invoice, shipment, and account emails
- TLS/SSL encryption and modern auth (username/password, App Passwords, OAuth2 where supported)
- Built-in test send so you verify before go-live
- Full email log with status, body preview, and SMTP error detail
- Per store-view configuration for multi-store merchants
- Hyvä compatible (transport-layer; no frontend JS required)


Key Features
- Provider presets for popular SMTP services (fill host/port/protocol quickly)
- Ports 25, 465, 587, or custom
- Amazon SES, SendGrid, and Mailgun-friendly credential options
- Email log retention (configurable) and manual purge
- Works with Magento’s email queue and cron
- Open Source & Adobe Commerce Magento 2.4.x
System Requirements
- Magento: 2.4.4 – 2.4.7+ (Open Source & Adobe Commerce)
- PHP: 8.1, 8.2, or 8.3
- Towering Media Composer repository credentials
- An SMTP provider account (Gmail, SES, SendGrid, etc.) or your own mail server
General Composer install steps for Towering Media modules: Installation guide.
Installation Overview
Step 1: Authenticate Composer
Add your Towering Media credentials to auth.json in the Magento root (same pattern as other Towering Media extensions).
Step 2: Require the package
composer require toweringmedia/module-smtpStep 3: Enable and upgrade
php bin/magento module:enable Toweringmedia_Smtp
php bin/magento setup:upgrade
php bin/magento setup:di:compile
php bin/magento setup:static-content:deploy -f
php bin/magento cache:flush
Exact module enable name may match your package’s registration.php / module.xml—confirm in the package after install. Production stores should follow your normal deploy process (compile + static content as needed).
Need help installing? Contact Towering Media or browse more modules in Magento 2 Extensions.
Configure SMTP in Admin
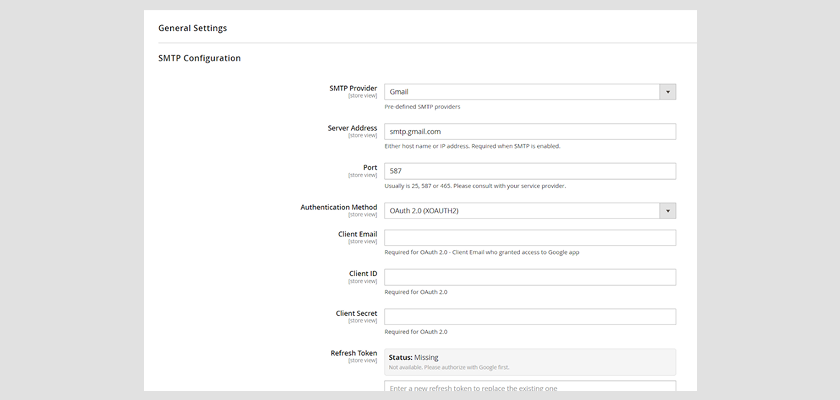
- Log in to Magento Admin.
- Go to Stores → Configuration → Toweringmedia → SMTP (path may appear under Towering Media / Advanced System depending on version—use the SMTP section from the product docs if your menu label differs slightly).
- Set Enable to Yes.
- Choose your SMTP provider (or Custom) so host, port, and protocol can be filled quickly.
- Enter username and password (or App Password / OAuth credentials as required by the provider).
- Confirm encryption (TLS or SSL) matches the provider’s requirements.
- Optionally set return-path / sender options per store view.
- Save Config, then flush cache.
Gmail & OAuth (High Level)
Gmail and Google Workspace no longer accept a normal account password for SMTP from most apps. You typically use either:
- App Password — after 2-Step Verification is on, generate an app password and use it as the SMTP password with
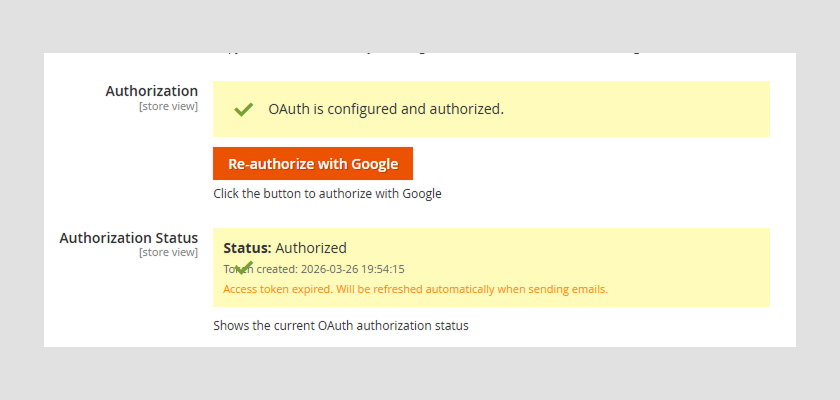
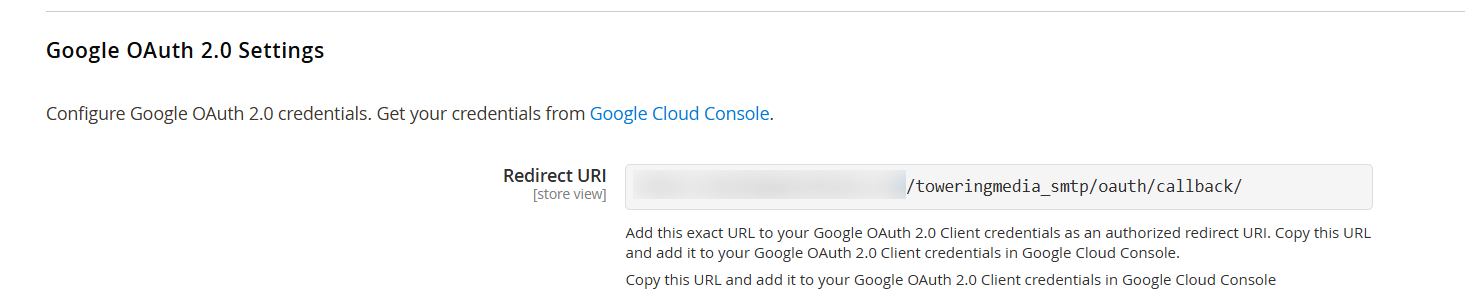
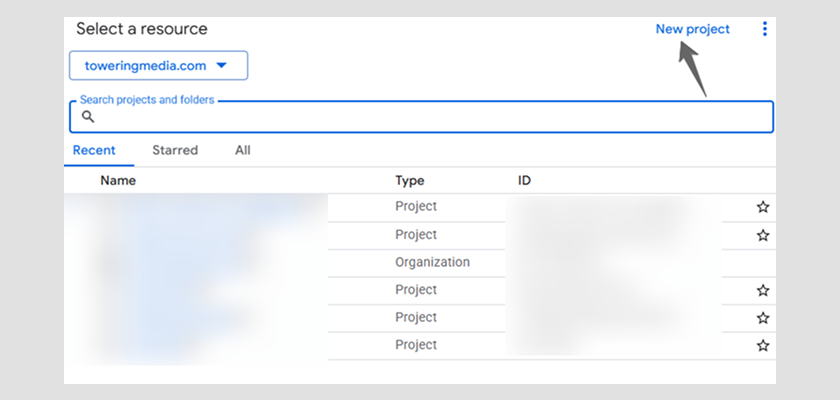
smtp.gmail.com(commonly port 465/SSL or 587/TLS). - OAuth 2.0 — create a Google Cloud project, enable Gmail API, configure the OAuth consent screen, create a Web client, paste Client ID/Secret into Magento, then authorize the Google account from admin.
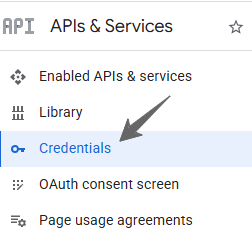
The step-by-step OAuth screenshots (Cloud Console → Magento authorize button → test send) live in the wiki:
Open Magento 2 SMTP wiki guide →
Other providers follow the same idea: pick the preset, enter the credentials they give you (API key as SMTP password for SendGrid/Mailgun, IAM SMTP credentials for SES, etc.), save, and test.
Send a Test Email
Before you rely on real order mail:
- Open the SMTP configuration screen.
- Find Send Test Email (or equivalent Test Now control).
- Enter a recipient address you can check immediately.
- Send the test and confirm it arrives (and is not in spam).
Email Logging & Debugging
When logging is enabled, outgoing messages appear in the admin email log (typically under a Marketing / SMTP → Email Log style menu). Each entry can include:
- Recipient and subject
- Timestamp and delivery status (sent / failed)
- Body preview
- SMTP error detail when something goes wrong
Use log retention settings to keep history long enough for support tickets without growing the database forever. Pair SMTP with extensions that send important customer mail—for example Back-in-Stock Notifications, Call for Price, and Post-Purchase Reviews—so those messages use the same reliable transport.
Troubleshooting
Test email never arrives
- Confirm Enable = Yes and you saved at the correct store scope
- Double-check host, port, and TLS/SSL against the provider’s docs
- For Gmail: use an App Password or complete OAuth authorization—not the regular login password
- Check spam/junk and any provider “blocked sign-in” alerts
- Flush Magento cache after config changes
Authentication failed
- Regenerate App Password / API key
- Confirm username is the full email address when the provider requires it
- For OAuth: re-authorize; ensure redirect URI matches what Google expects
Order emails still not sending
- Verify Magento “Disable Email Communications” is No
- Confirm cron is running (queue may hold mail until cron processes it)
- Inspect the SMTP email log for the failed message’s error text
Works on one store view only
- Check website/store-view scope inheritance—child scopes may override or leave credentials empty
Still stuck? Contact support with the SMTP error text from the log (never send passwords or Client Secrets in plain email if you can avoid it).
Frequently Asked Questions
Does it work with Gmail, SendGrid, and Amazon SES?
Yes. Any standard SMTP provider is supported—configure host, port, encryption, and credentials in admin. See the product page for the full provider list.
Can I verify setup before go-live?
Yes. Use the built-in test email from configuration so you do not need a real order to prove delivery.
Is it Hyvä compatible?
Yes. It works at the mail transport layer and does not depend on Luma or Hyvä frontend templates.
Does it support multiple store views?
Yes. Configure different SMTP servers, senders, or credentials per store view when needed.
Where is the deepest documentation?
This CMS page is the shopper-friendly overview. The screenshot-heavy Gmail OAuth guide is on the wiki user guide. General Composer install: Installation.
How much does it cost?
$129 for the Magento 2 SMTP Extension (see current pricing and auto-renew options on the product page, or buy on Adobe Commerce Marketplace).
Related Extensions & Resources
Want our Magento team to handle it?
Towering Media installs, configures, and customizes SMTP for Magento 2 stores — along with ongoing Magento maintenance, admin tooling, email deliverability, and reporting.
Get the Extension
Stop losing orders to email delivery failures. Configure authenticated SMTP in minutes—Gmail, SendGrid, Mailgun, Amazon SES, Outlook 365, or custom—with logging and test-send included.
Prefer screenshots for Gmail OAuth? Open the full wiki guide.